Today, I want to share with you a translation subtitle plugin that can truly boost your work efficiency, allowing you to enjoy real-time translation without the need to upgrade to Teams‘ premium version! Without further ado, let’s dive in!

How to Get Started?
- Install Felo Subtitles:
Begin by installing the Felo Subtitles plugin in your browser. The installation is super convenient – just a click, and you’re good to go! Download link is right here:chromewebstore.google.com
- Use Teams on the Web, Start a Meeting:
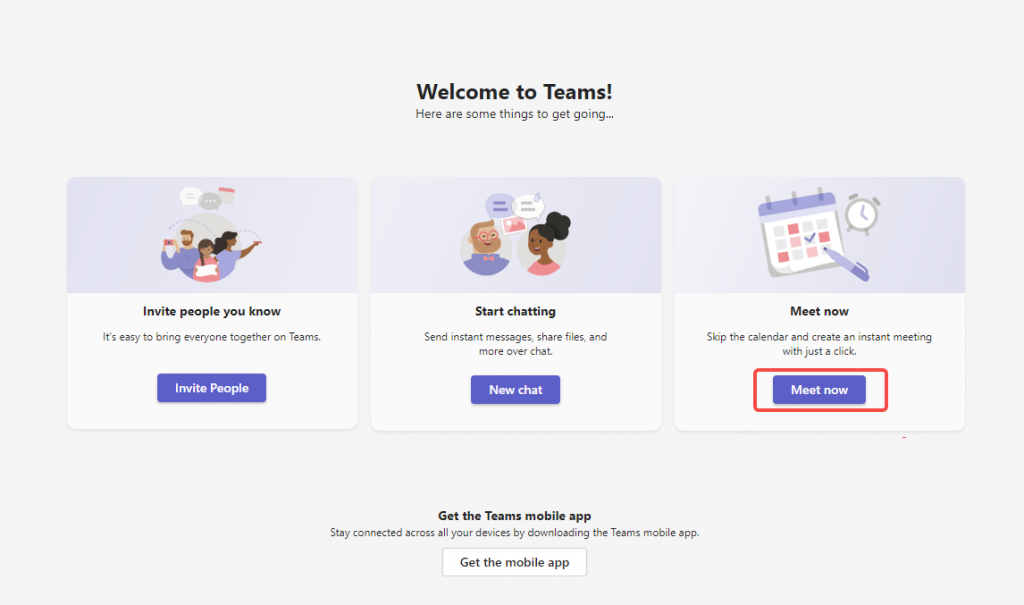
Open Teams and enter your virtual meeting room.

- Activate Felo Subtitles:
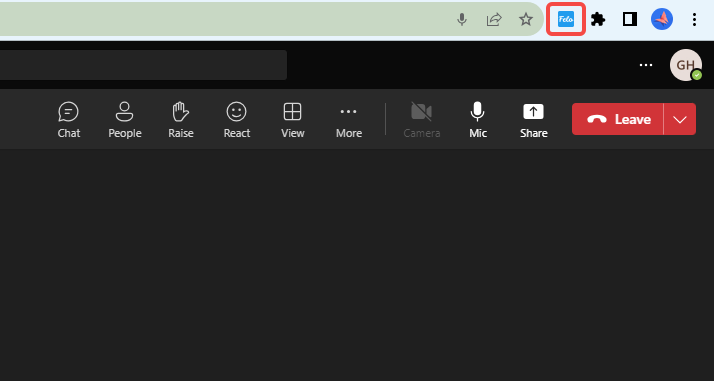
Click on the “Extensions” in the top right corner of your browser, then hit the Felo Subtitles icon – voila! Your subtitles are now activated. Easy, right?

Why Choose Felo Subtitles?
While Teams does offer real-time transcription and translation services, there are some minor inconveniences, such as subtitles not being saved, you need to open the audio to get the full text, and you have to pay for the premium version for real-time translation subtitles.
In comparison, Felo Subtitles has these advantages:
- One-Click Save for Transcription and Translation Subtitles: Review your meeting highlights anytime after the meeting, without missing a beat.
- Automatic Language Recognition: No need to manually switch language settings – Felo Subtitles already knows which language you’re speaking.
- High-Speed, High-Precision Real-Time Transcription and Translation: Even in fast-paced work meetings, Felo Subtitles ensures both speed and quality.
No more worries about not understanding in international meetings – Felo Subtitles makes you effortlessly navigate Teams meetings.
Give it a try now; the link is right here [Download Link:chromewebstore.google.com], one click, and enjoy a new way of communication!